Dave's Notebook
Writing Practice by David Rickmann.
Watermelons
The child watches a lot of YouTube. A lot of it is completely terrible and I wish they would watch less. One of the channels they watch is called “Slick Slime Sam” It is one of the ones that I don’t mind all that much because it features a person Well, a persons hands and voice. Presumably there is a person attached. assisted by a pink creature doing lots of crafts projects. These are fairly educational and hopefully will encourage the child towards building interesting things.
I’m not sure what it’s supposed to be. The titular Sam presumably. All I can tell is that it’s pink, made of some kind of silicone and has a flared base (which is an important safety feature)
It was this channel which inspired the child to request that we buy a watermelon and put a tap in it. Here’s the video. I can’t wholeheartedly recommend that you watch it in full.
This is a fairly common “Lifehack” that you see on these sorts of craft videos. There are certainly a few variants of it on other channels.
I have a bunch of power tools and nothing better to do, so let’s give it a whirl.
Step One
Procure a watermelon
This is a straightforward step, except that watermelons are heavy. Even the comparatively small ones that we get in Britain.
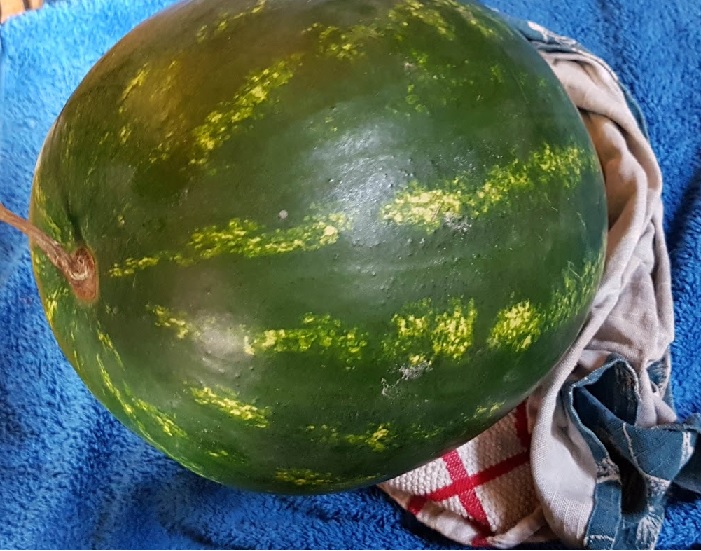
Here’s my watermelon! Let’s get to it.
Step Two
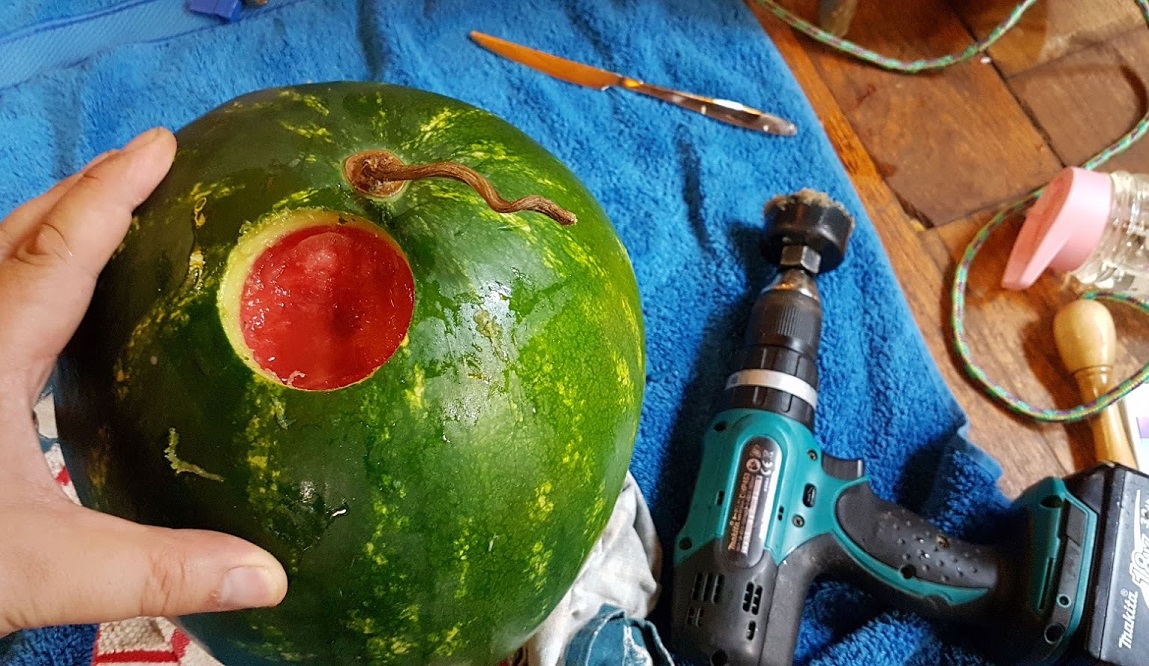
Break into your melon
In the video they hacked the top off. I decided a nice neat access hole would be a better solution. I was mostly wrong about that. It’s tricky to get into the melon this way and also I couldn’t plug the hole back up again because the plug was cut straight with a hole saw and not slanted.
Step Three
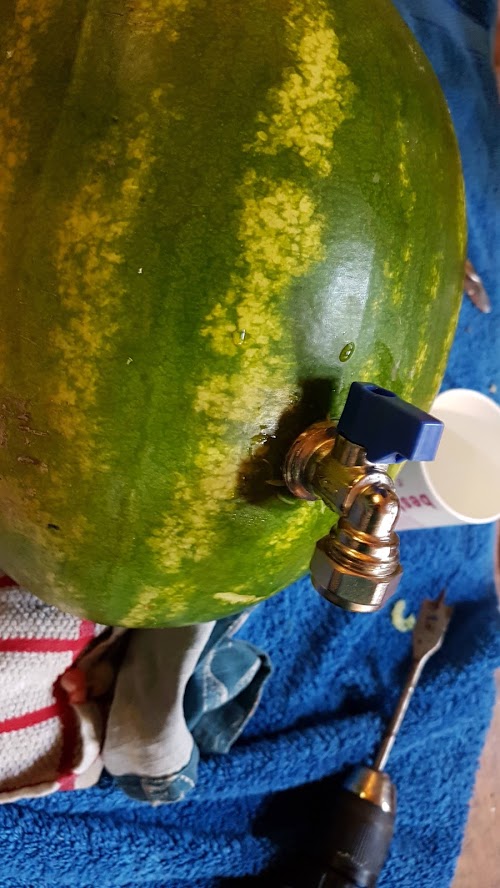
Install a nice neat tap
I did not have any intention of buying a tap for this project. The child however insisted that the tap was a vital part of the project and without the tap we should just eat it.
I didn’t really agree. But I think in the end they were right.
We’ll get to why in the next few steps. But I looked around in my plumbing supplies box and found I had an unused utility shutoff valve. This will do for our purposes.
I would suggest that you need something with a longer pipe tail if you’re going to try this, because watermelons are not really the perfect substrate for holding a tap in place. It lasted a few hours, but it wasn’t optimal.
Step Four
Blend!!
In the video above they’re using a mixing paddle. I do have one of these!
However mine is covered in floor levelling compound and is definitely not food safe.
This is a shame because it looks to be pretty much the ideal tool. I used an electric whisk paddle and that did an ok job, but it lacked in reach and was tricky to get all the way into the melon.
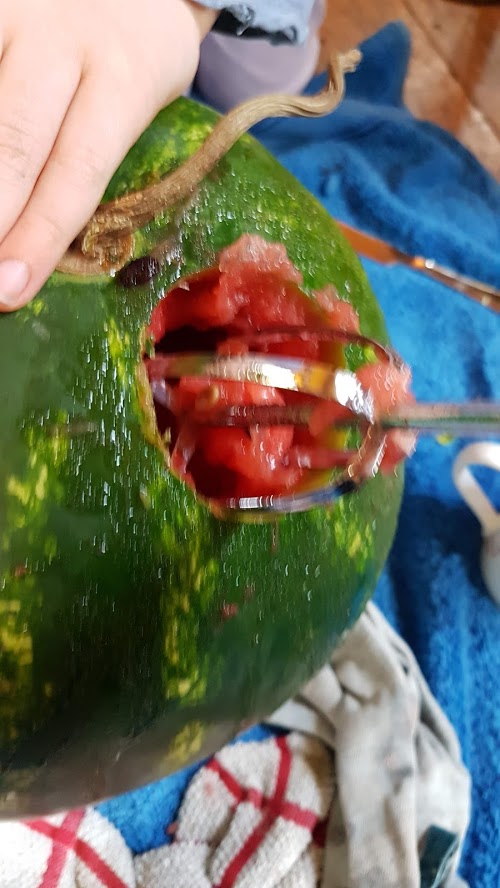
Whirr whirrr!
Step Eight
Pour!
All the blending complete you just open the tap and out comes your delicious watermelon juice!
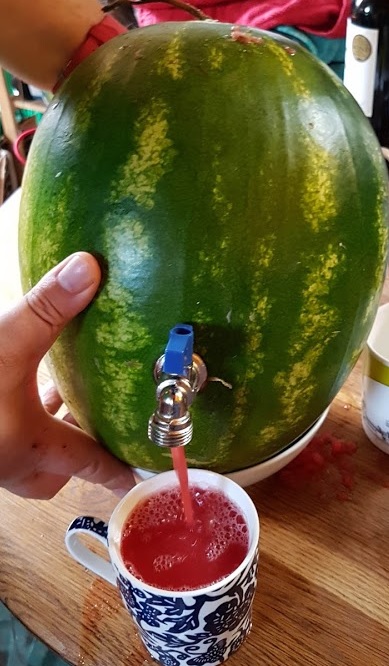
Easy and delicious.
Hang on… Step Eight?
YES! Because what the video misses out are steps five, six and seven.
Step Five
Fail to pour.
In this step you open the tap in the watermelon and prepare yourself to bask in the adulation of those around you.
Then you collect the maximum five drips of watermelon juice that have escaped the melon.
Step Six
Empty all the watermelon juice and chunks and seeds and pulp into various bowls and containers.
So at the end of step five you’re left with a watermelon filled with a sort of watermelon slurry. You also have a tap which is clogged with watermelon goo. So you empty out the watermelon into your measuring jug. Then you realise just how much stuff is in a watermelon and also fill up your other measuring jug and a bowl. Then you remove the tap, clean it thoroughly and reinsert it.
Step Seven
Liquidise!
So then you take a sieve and a all of the watermelon slurry and patiently sieve it into whatever container you have left. Squeeze out the pulp and pour the juice back into the melon. Over and over and over. Then you blend the pulp with a stick blender and strain that.
Then, and only then can you do step eight.
This is why I think the tap was important. In the videos without a tap the blended melon comes out as a slurry. They’re not forced to do steps five to seven and it’s these steps which get you delicious watermelon juice.
Step Nine
Drink all the Juice
This bit is very straightforward. I don’t think you need me to tell you how this bit works. There is a lot of juice in a watermelon though, and a watermelon is not a very good container for long term storage once it’s been juiced. So get quite a few people to drink some.
Step ten
Chuck it off a bridge.
Once the watermelon juice is all drunk you should dispose of your watermelon sensibly. Cracking the empty husk and composting it might be a good solution. My solution was to hurl it off the bridge at low tide so it exploded on the river bed.
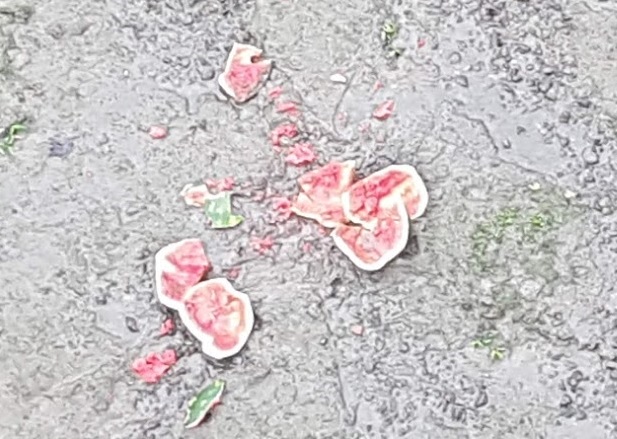
Satisfying!